This feature is already available in our new administration portal. The new portal is currently in beta. Instructions for using the new portal can be found at the end of this article.
Local groups are groups that are created and managed directly in the Cortado administration portal. These can be groups of users or device groups. For example, you can combine all users of a department (e.g. Sales) into one group. Or you can create a group for all iPads in the company. Create a local group if you want to bundle several users or devices in order to assign them a uniform configuration. This makes administration much easier: instead of configuring each individual person or device separately, you can configure all members of a group at the same time. Alternatively, you can import groups from Microsoft Entra ID.
- To do so, select Administration→ Groups in the Administration Portal (arrow in illus.).

- Then click on the Plus button above left in the display (arrow in illus.).

- Now select Local Group (arrow in illus.).

- After this choose a name (upper arrow in illus.) and, if required, a description for your group and then click on OK.
- A group is enabled by default (lower arrow in illus.). A disabled group is treated as non-existent, i.e. all policies, profiles, apps, settings, etc. are no longer enforced for users or devices.
Select the Add new users automatically (arrow in illus.) checkbox if you want all new users to be automatically added to this group after they are imported into the administration portal.
Activate the Add new devices automatically checkbox if you want all new devices to be automatically added to this group after enrolling in the administration portal.
Then click OK.


- Create as many groups as you need.
Note. A user can be a member of several groups. New users can be automatically added either to none, to one or to several groups.
NEW ADMINISTRATION PORTAL: Creating local groups
Create a new local group if you want to combine several users into one group. This is useful if several devices or users are to receive the same configuration. This way, all users in a group can be configured at once and not individually. Alternatively, you can also import groups from Microsoft Entra ID.
Note! It is currently not possible to assign devices to a group in the new administration portal. Please use the old portal for this. Alternatively, you can assign a device to a group in device management.
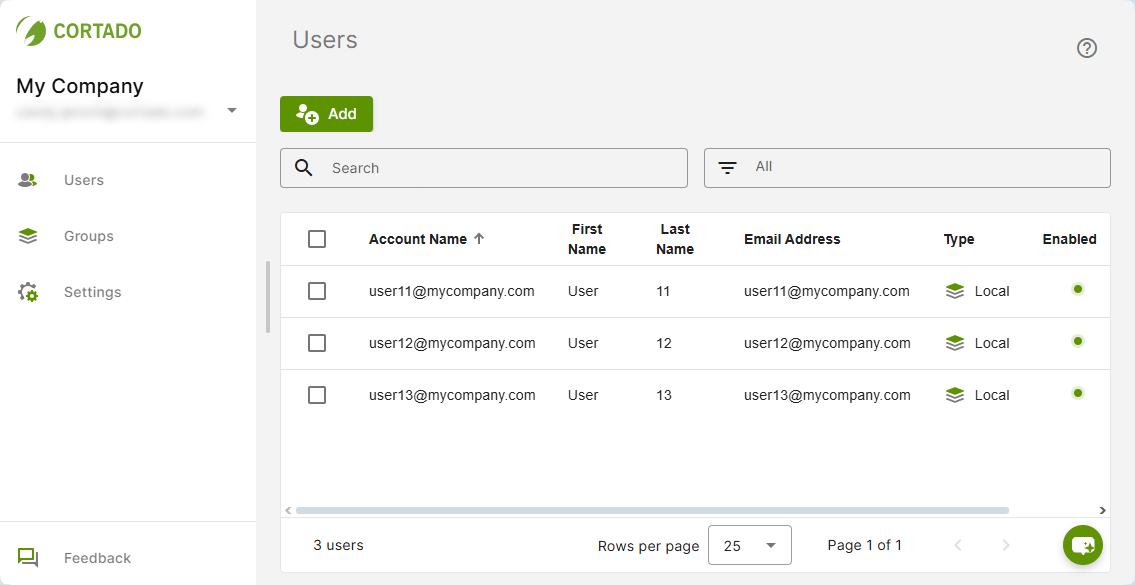
- Open the group management by clicking on Groups (left arrow in illus.).
- Then select Add (right arrow in illus.).

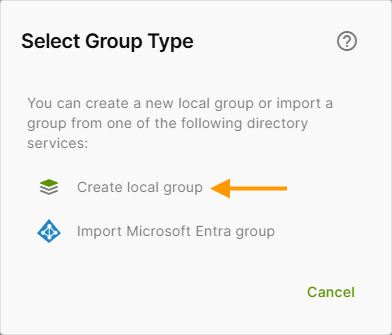
- Then click on Create local group (arrow in illus.)
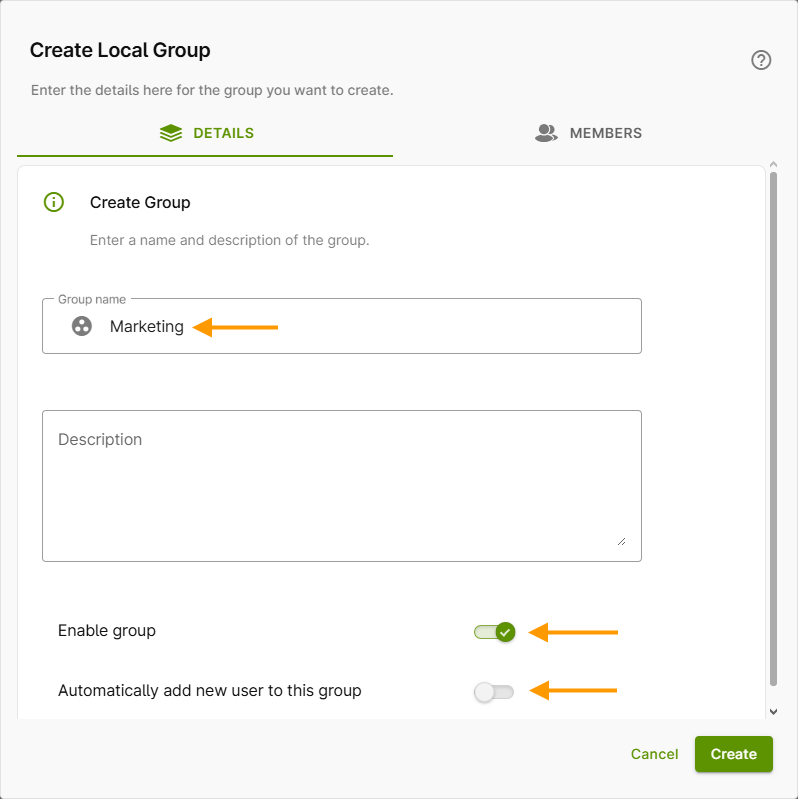
- Now select a name (upper arrow in illus.) and, if necessary, a description for your group.
- A group is activated by default (middle arrow in illus.). A deactivated group is treated as non-existent, i.e. all policies, profiles, apps, settings, etc. are no longer enforced for users or devices. However, the users or devices themselves are not deactivated.
- Activate the Automatically add new users to this group checkbox (lower arrow in illus.) if you want all new users to be automatically added to this group after importing them into the administration portal.
- Then click on Create.
- Create as many groups as you need.
- You can find your groups in the group management.
Note! A user can be a member of several groups. New users can either be added to none, one or more groups automatically.
We show you how to add users to the local groups and edit the properties of the groups in our help article Managing local groups. We show you how to add devices to a group in our help article Assigning devices to a group.